Developing site branding and style
Styles are controlled in a few different places.
Setting up the brand
The first place to set your brand is in the Skin properties box.
To find this, in the admin toolbar, open Tools: content item, and then click Style, then Open style editor. You should see a floating box in which you can control all of your site's styles:
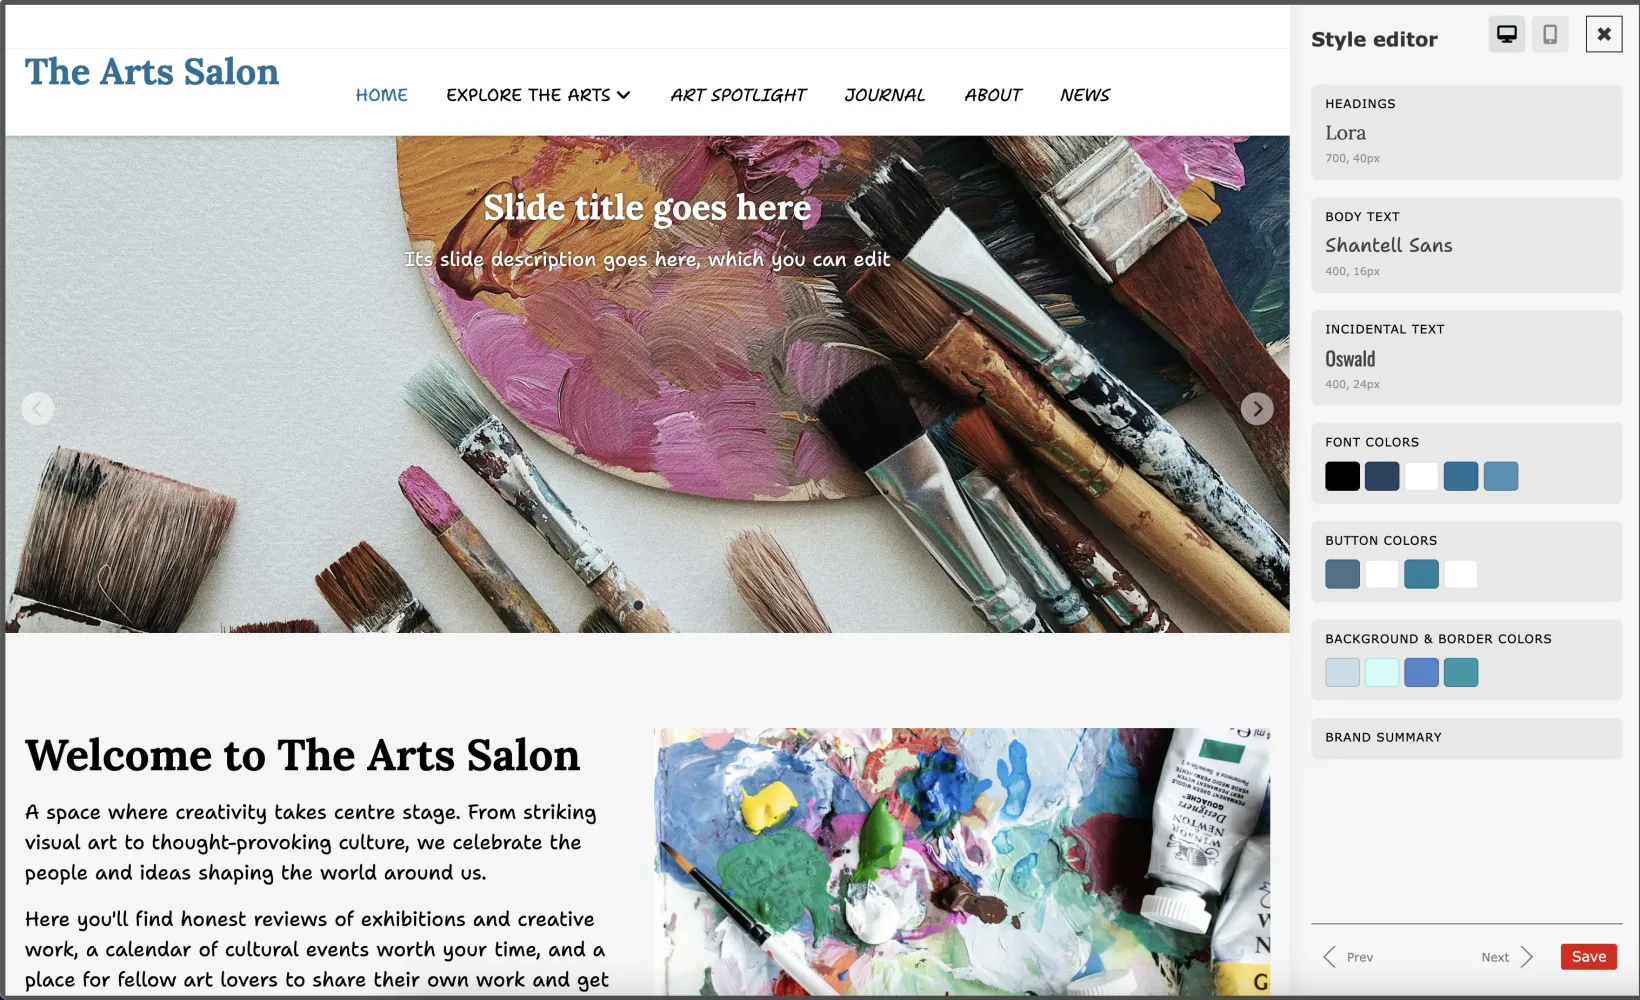
You can pick the font for headings, controlling its weight and line spacing. All heading styles h1-h4 will be based on this (h1 being the largest).
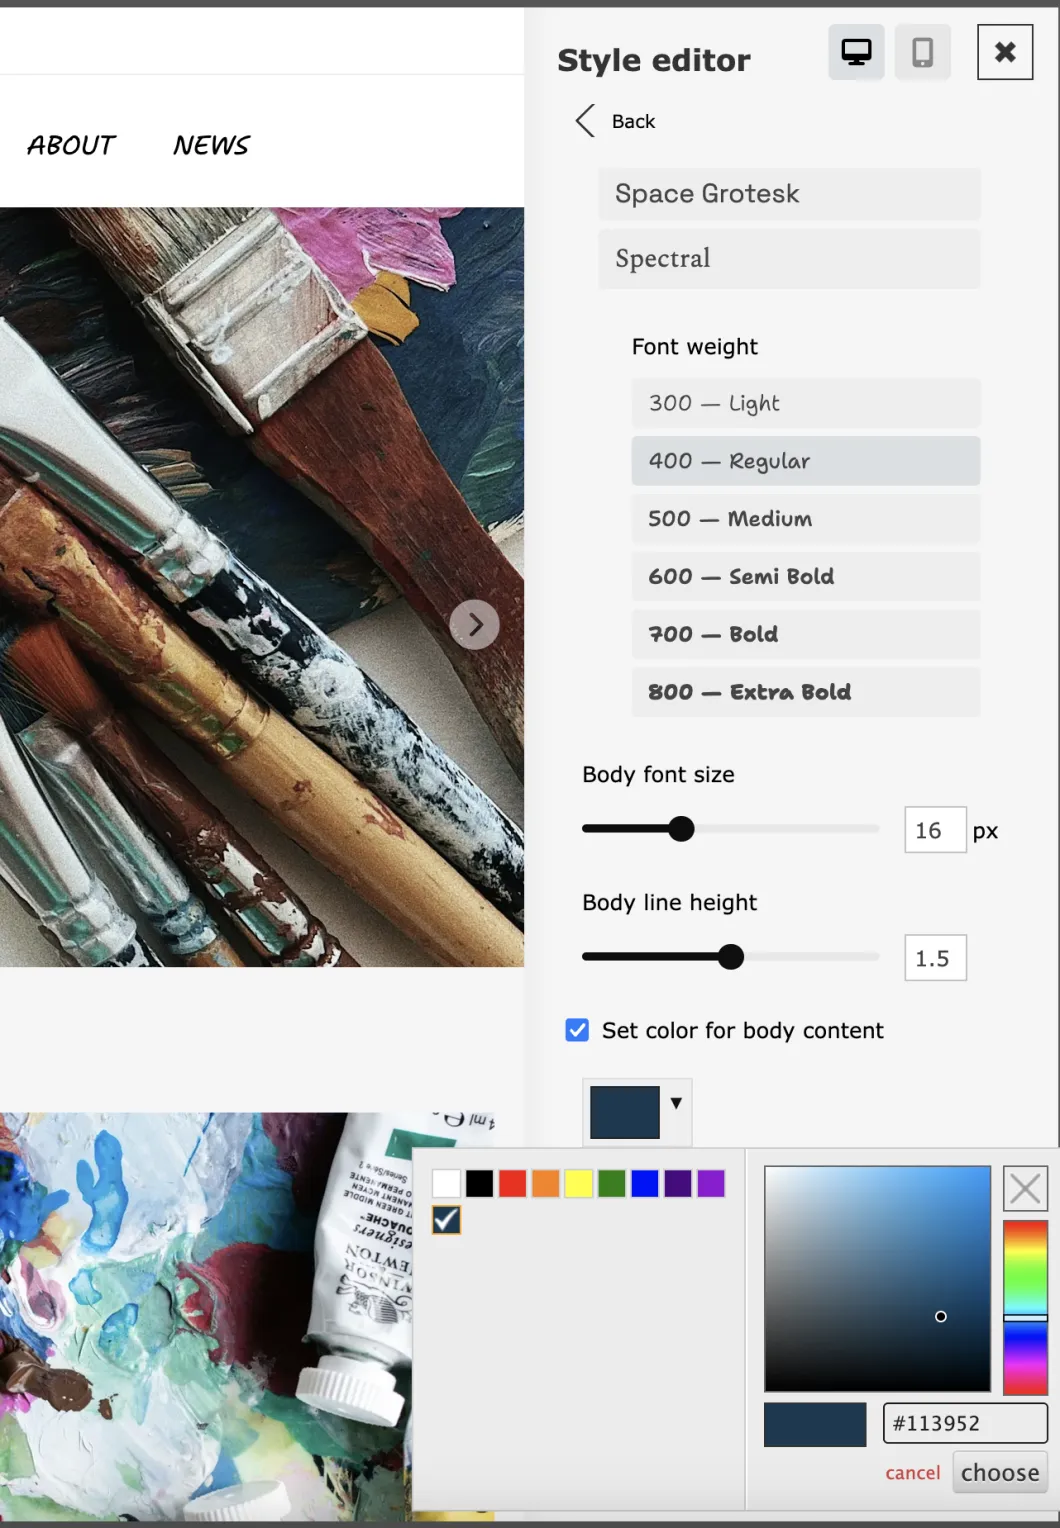
You can separately set the body font. Here for example is the colour and size being set:
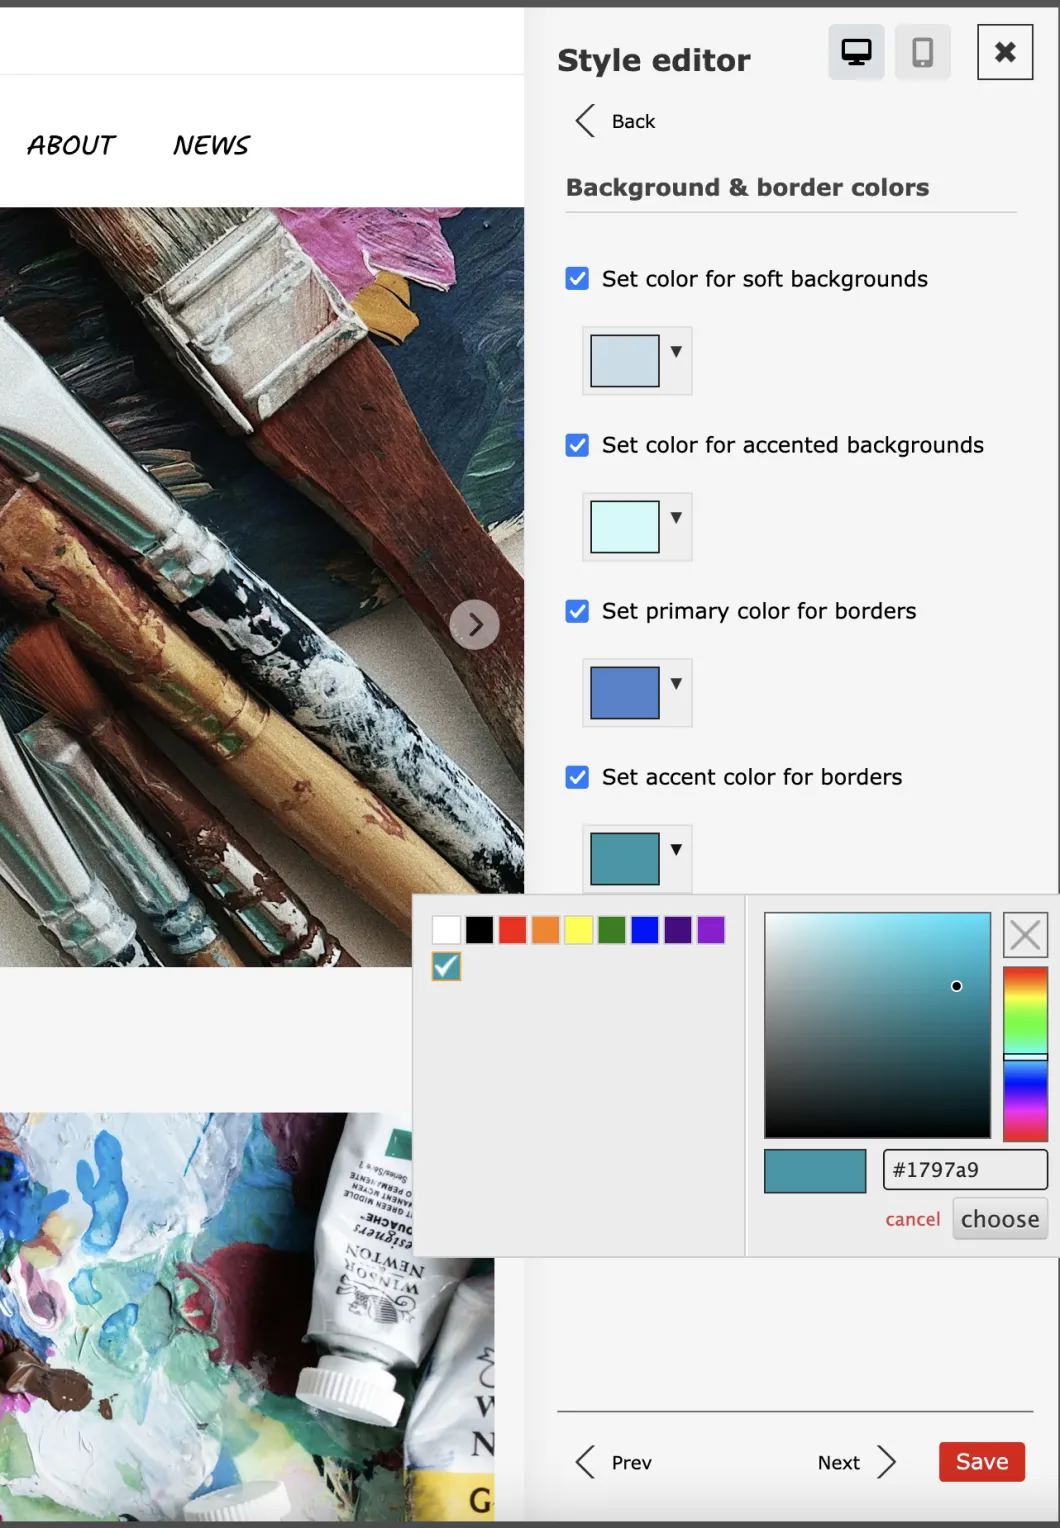
Beside text, you can set backgrounds and borders that are common across the site:
You can overview the brand summary like this:
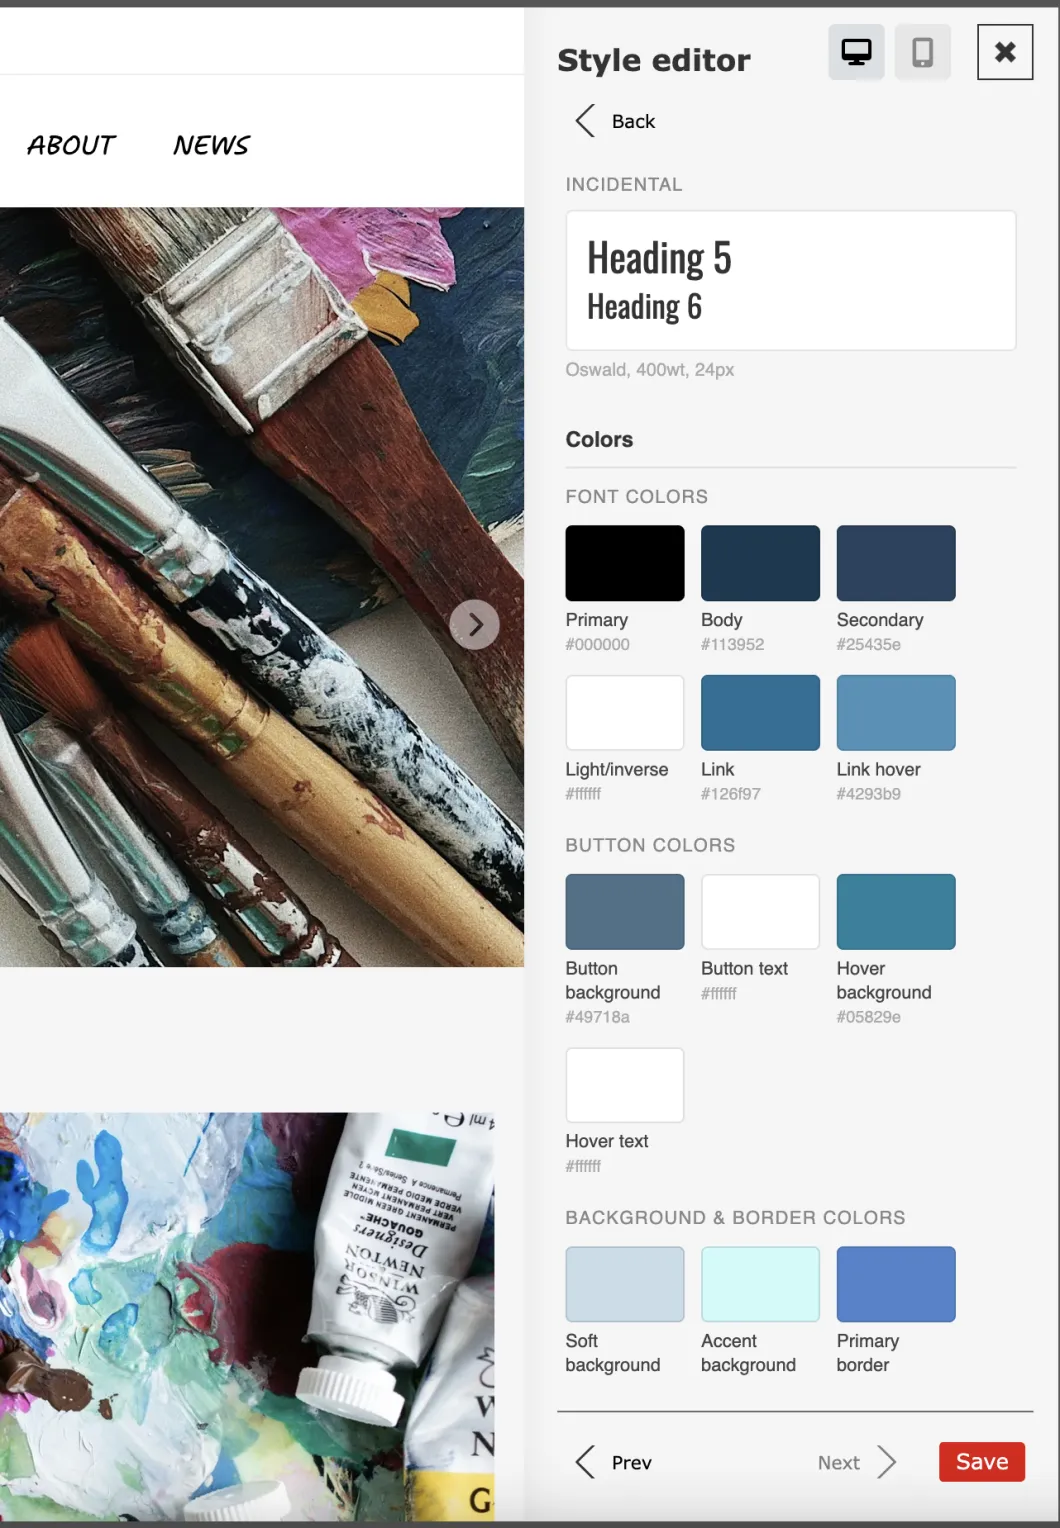
Once you save the choices, this will affect the whole of your site.
Styling on-page plugins
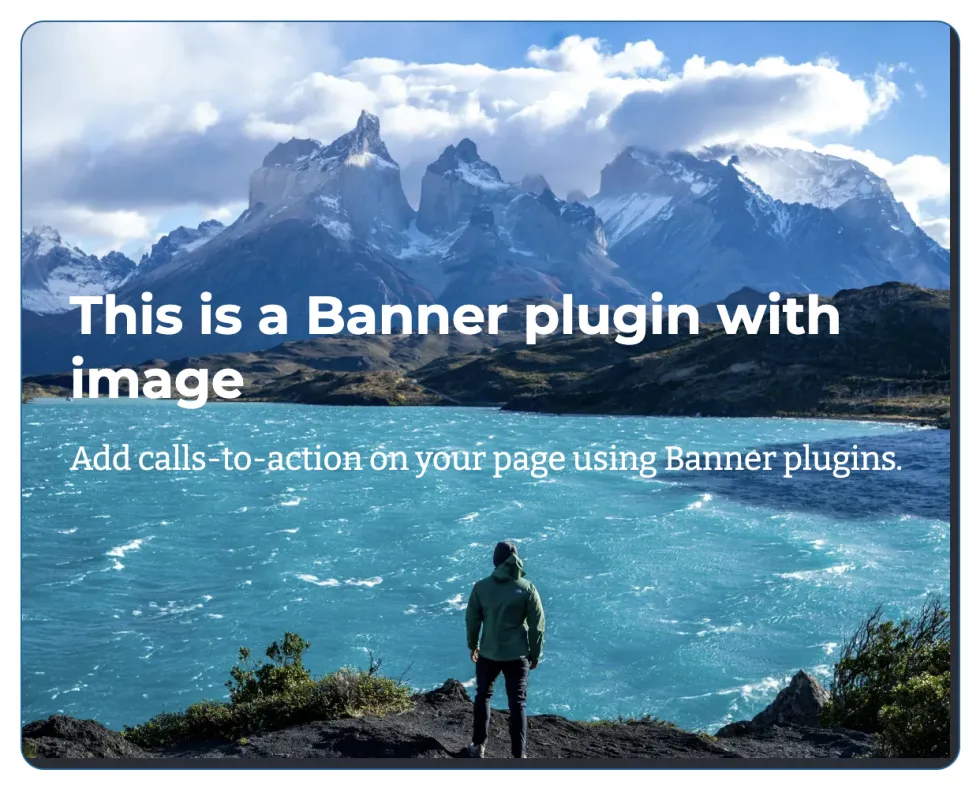
Zenario pages often have plugins, and a really useful one is the Banner plugin. They are used for calls-to-action (CTAs), links around the site, logos, occasional images and more.
Here is a sample plugin, before you do any styling:
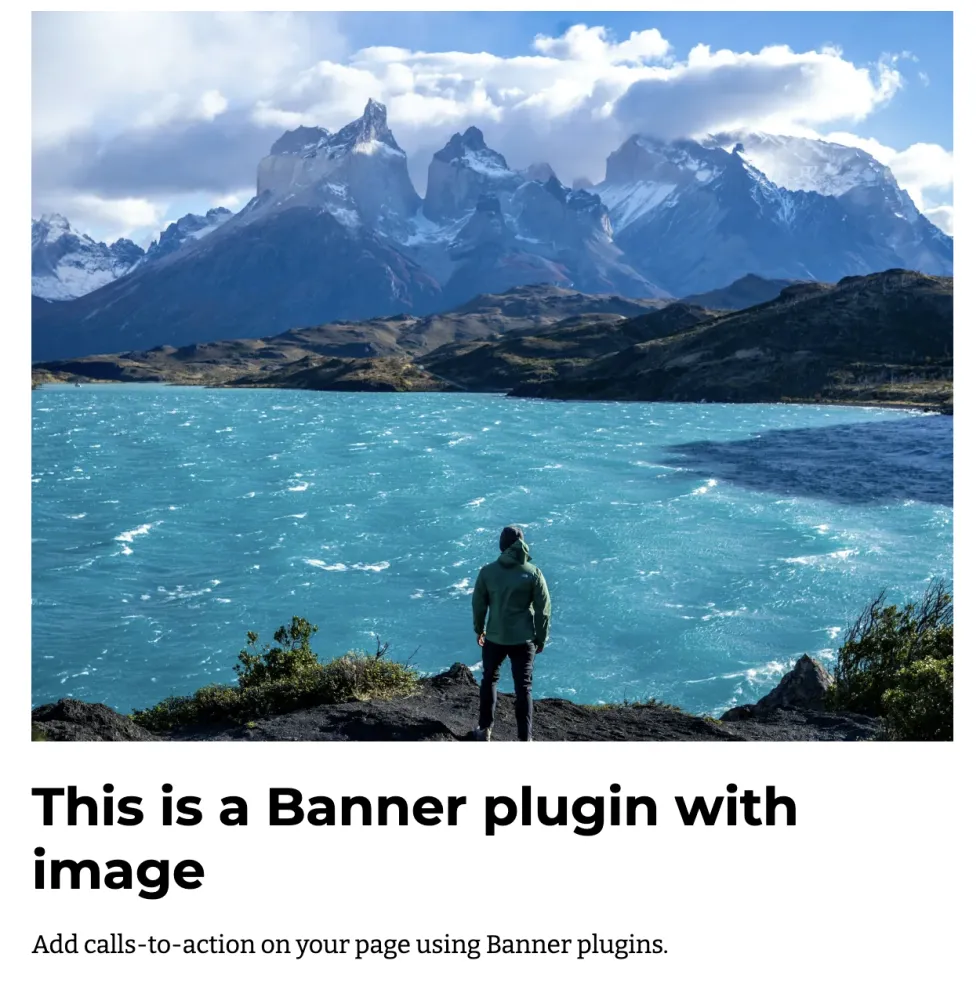
To style this, in the admin toolbar click Tools: content item and then open the Slot inspector for this plugin:
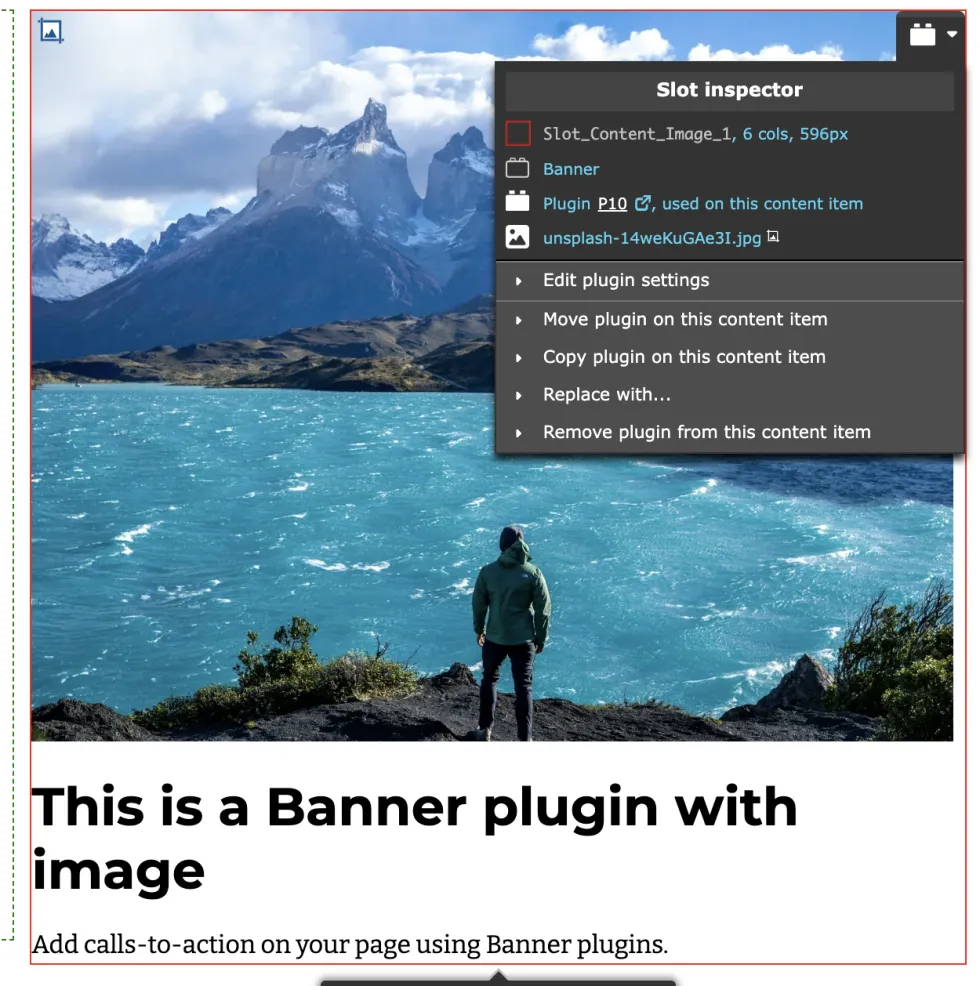
Click Edit plugin settings, and look for the Style tab like this, with the preview on the right:
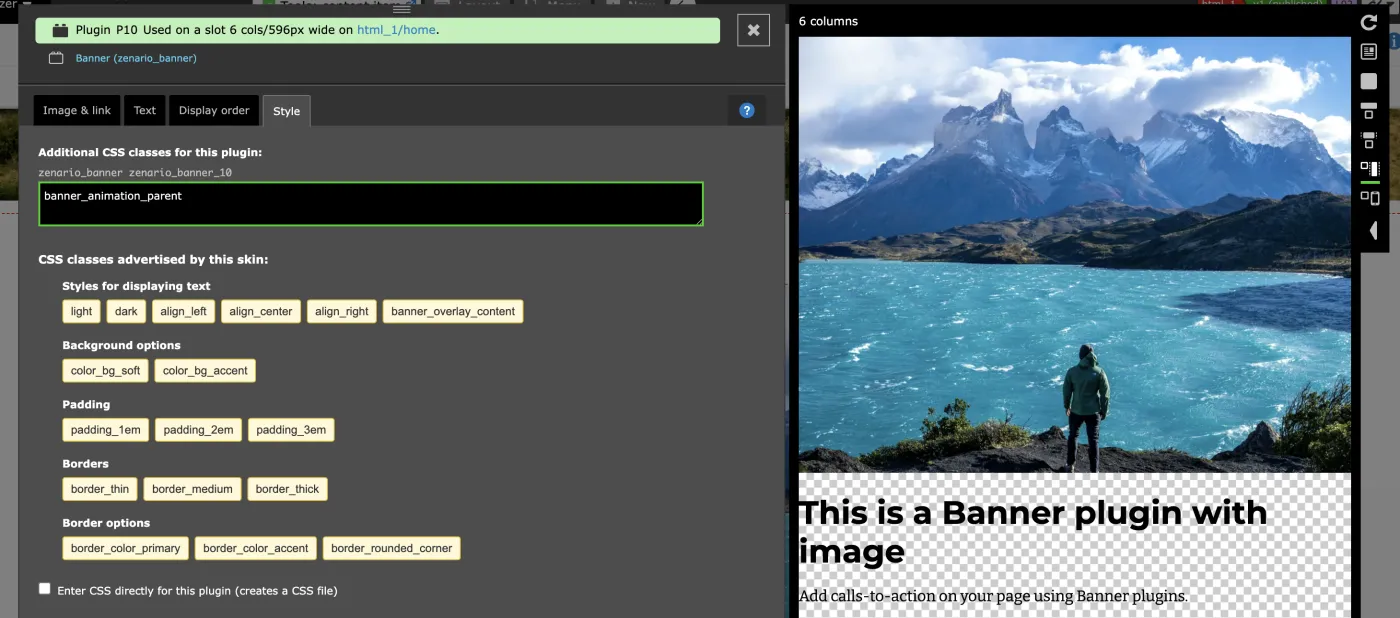
Click on the yellow buttons to enable a feature, like this:
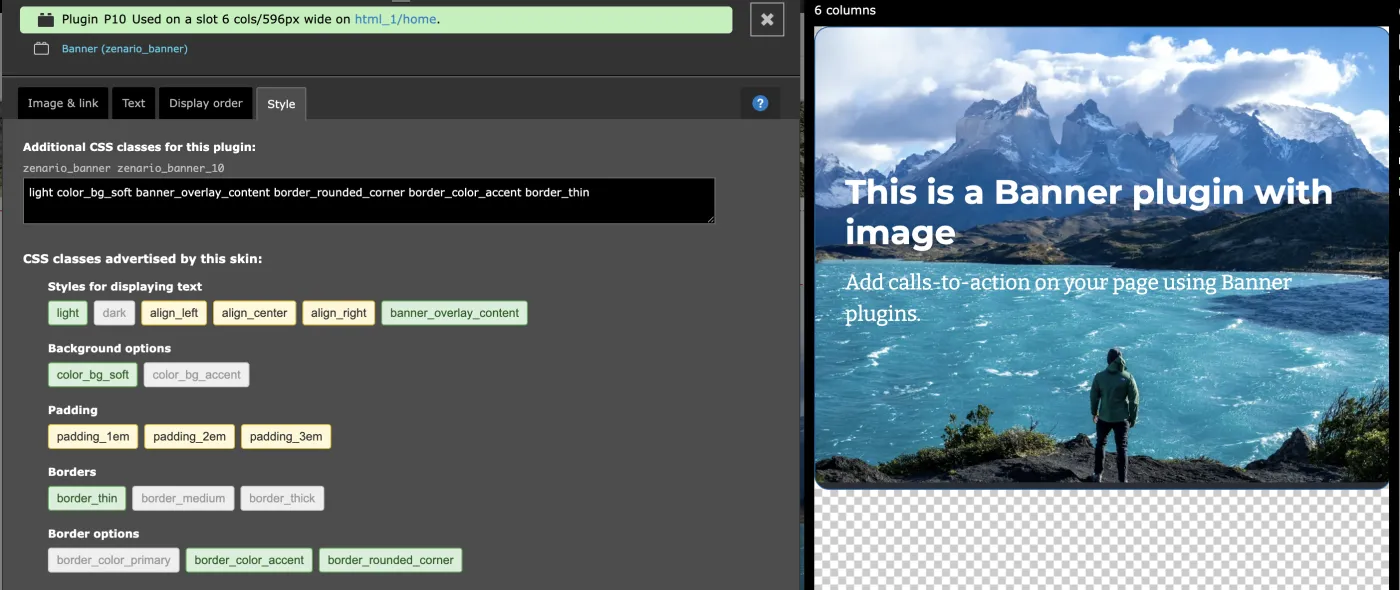
The colours will be those chosen in the skin properties, so they will follow the site's branding.
Save. The final outcome of the plugin will look as you've chosen, for example: